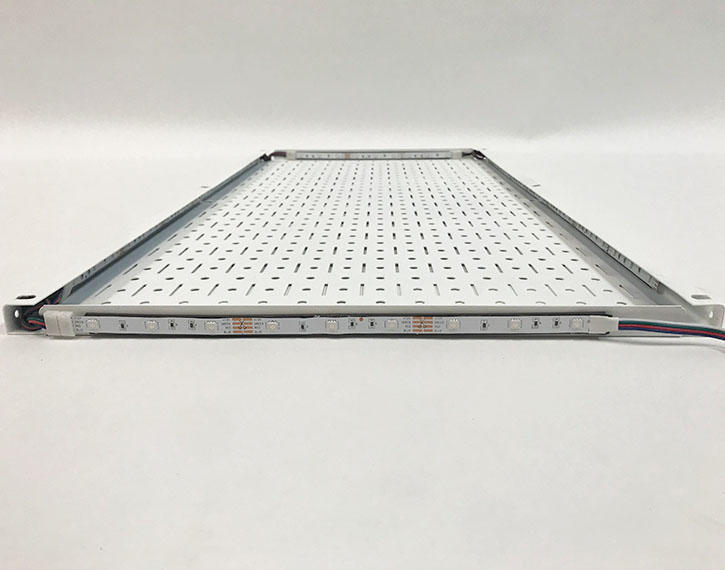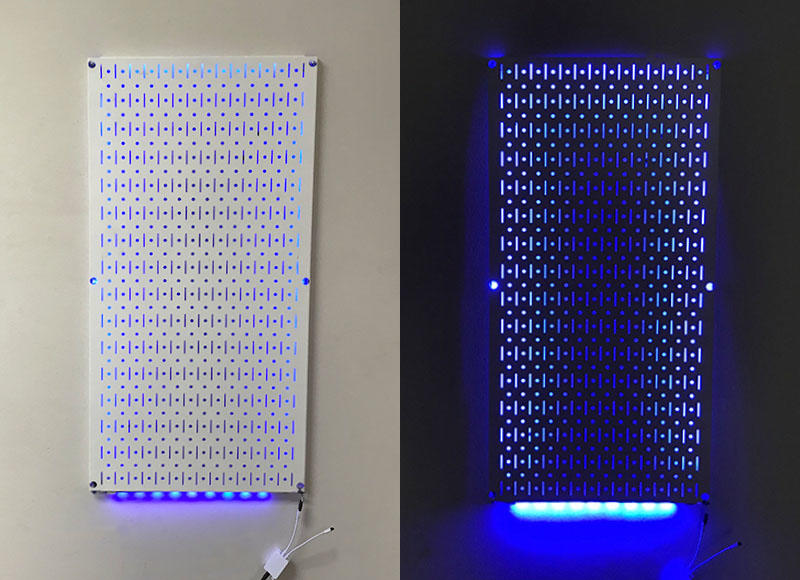
Make your Wall Control Metal Pegboard setup stand out against the rest of your friends' tool storage systems or pegboard gaming platforms! Mount RGB Light Strips to your Wall Control Slotted Metal Pegboard using Magnetic Tape and RGB Connectors to give it a unique look and add to its modular style!
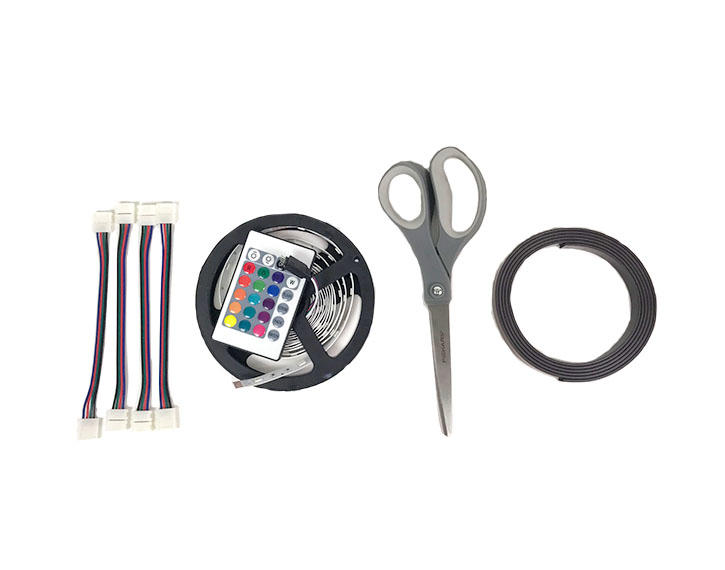
Items needed for installation of RGB Lights:
- Wall Control Slotted Metal Pegboard Panel
- RGB Light Strip
- RGB Light Strip Connectors
- 1/2 Inch Magnetic Tape - this is optional, but makes the process significantly easier!
- Scissors
The RGB light strips we chose had cut increments of 4 inches, so the length that will fit on each side will vary depending on this. We used the 1/2 Inch Magnetic Tape in order to make it easy to attach to Wall Control Metal Peg Board Panels already mounted to a wall, while avoiding leaving sticky residue and headaches along the way.
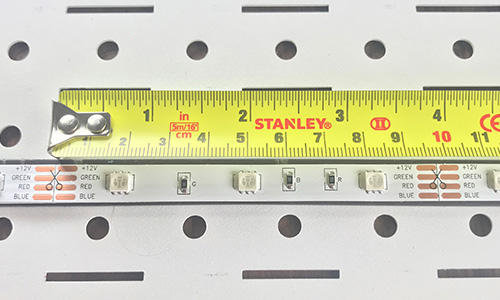
Step 1: Measure
It is important to measure where you need to cut your strip in order to fit in the panel properly. This is where the cut increments will cause the lengths to vary depending on your selected RGB strip. These are the measurements for our selected strip:
- The 32 Inch side of a standard size Wall Control Panel will fit a length of about 28.5 inches worth of RGB strip (including the connector heads)
- The 16 Inch side of a standard size Wall Control Panel will fit a length of about 12.5 inches worth of RGB strip (including the connector heads)
Step 2: Cut
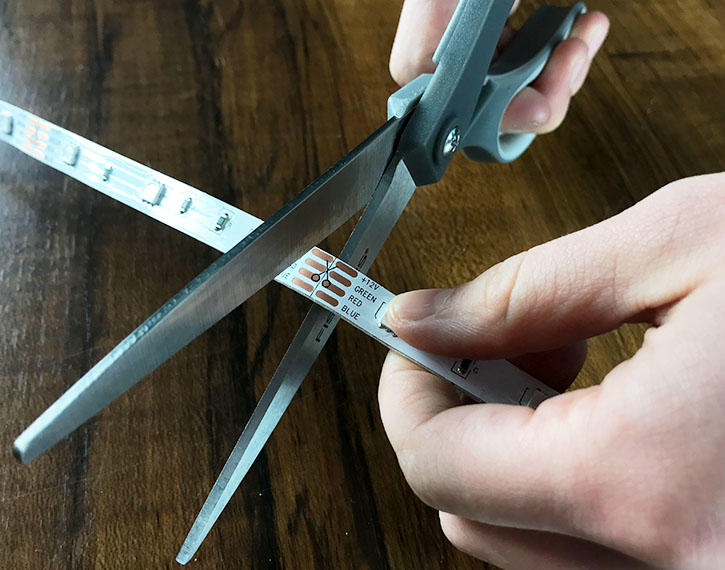
Cut the strips appropriately to fit inside of your Wall Control Slotted Pegboard Panel.
Step 3: Attach to Magnetic Strip
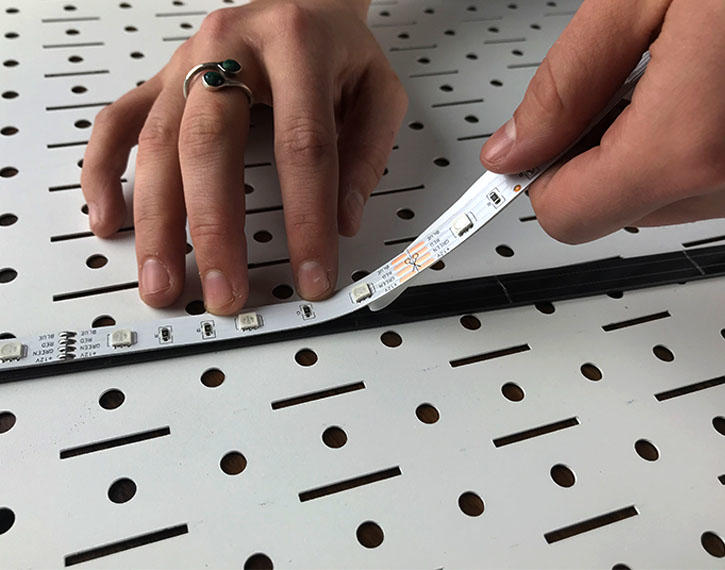
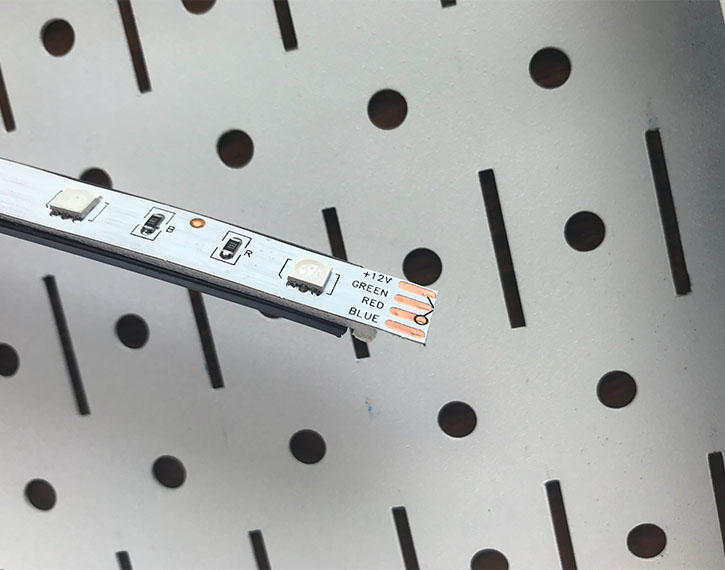
It is important to follow these steps to avoid incorrect lengths and warped results! In order to attach the cut RGB strips to the 1/2 Inch Magnetic Tape, place the tape against a flat surface. Peel the adhesive covers as the strip and tape are connected. To leave room for the connectors, cut the Magnetic Tape about 1/2 inch from the ends of the RGB strip and peel back the remaining adhesive on the RGB strip.
Step 4: Attach Connectors
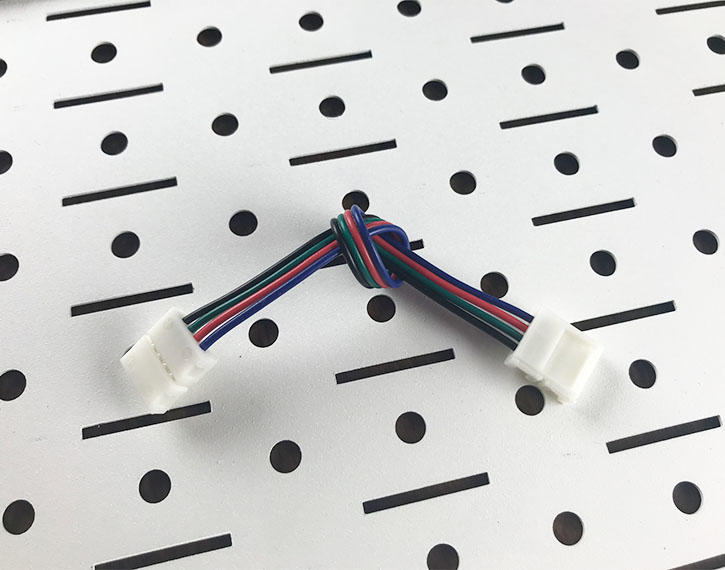
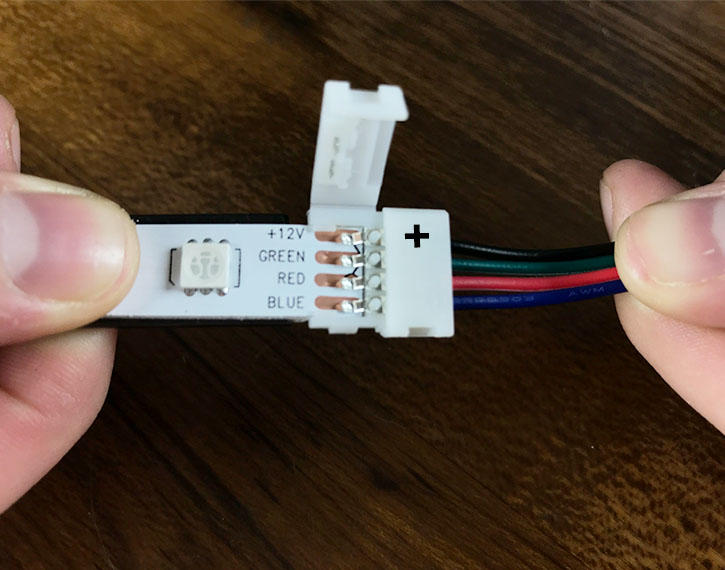
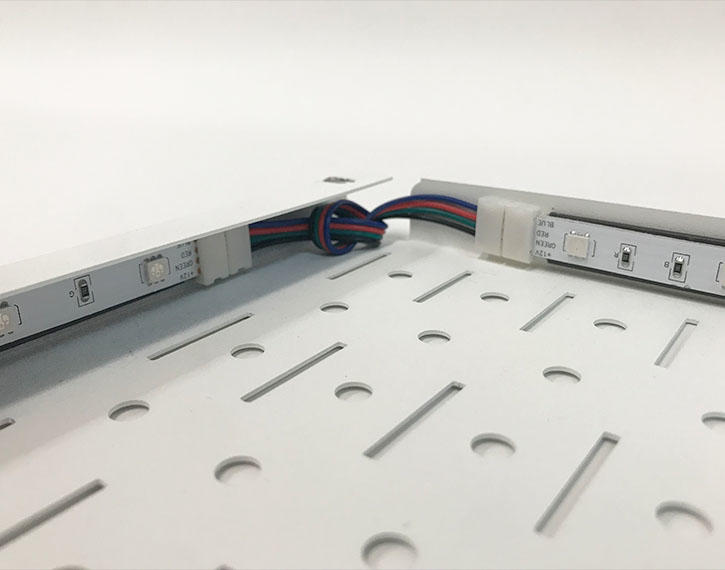
Loop the connectors to compact the space the wires take up, it also makes it easier to fit it in the 90 degree turn required to connect the stips together. Connect the connector to the strip, make sure the + (positive) sides are on their appropriate sides. Connect all of your strips together and test them to make sure they work before attaching them to your Wall Control Tool Board!
Step 5: Attach to Wall Control Panels
Attach the strips to your Wall Control Slotted Metal Pegboard Panels and enjoy your RGB lighting!
